 BATTER
The wall that held the hill.
A crumbling timber wall. 42 inches of grade change. One engineered solution built to outlast the house above it.
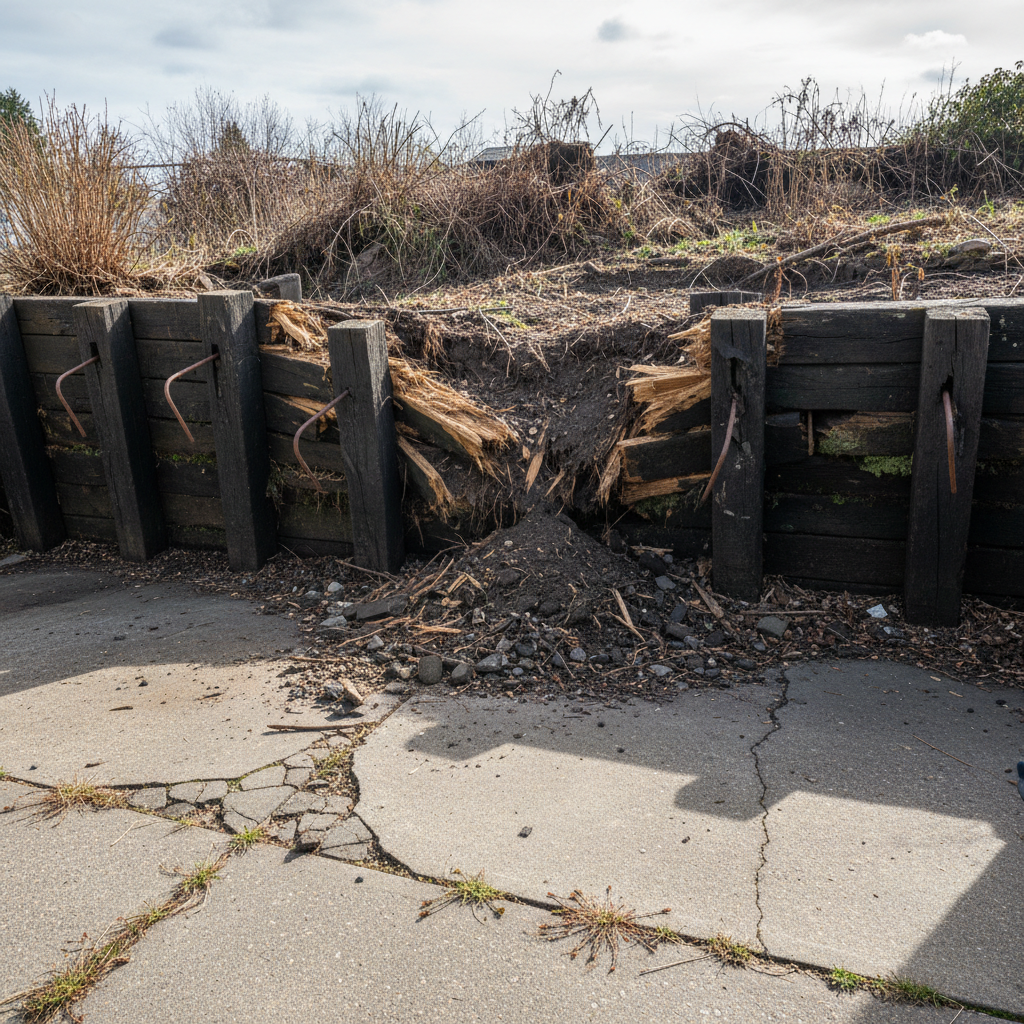
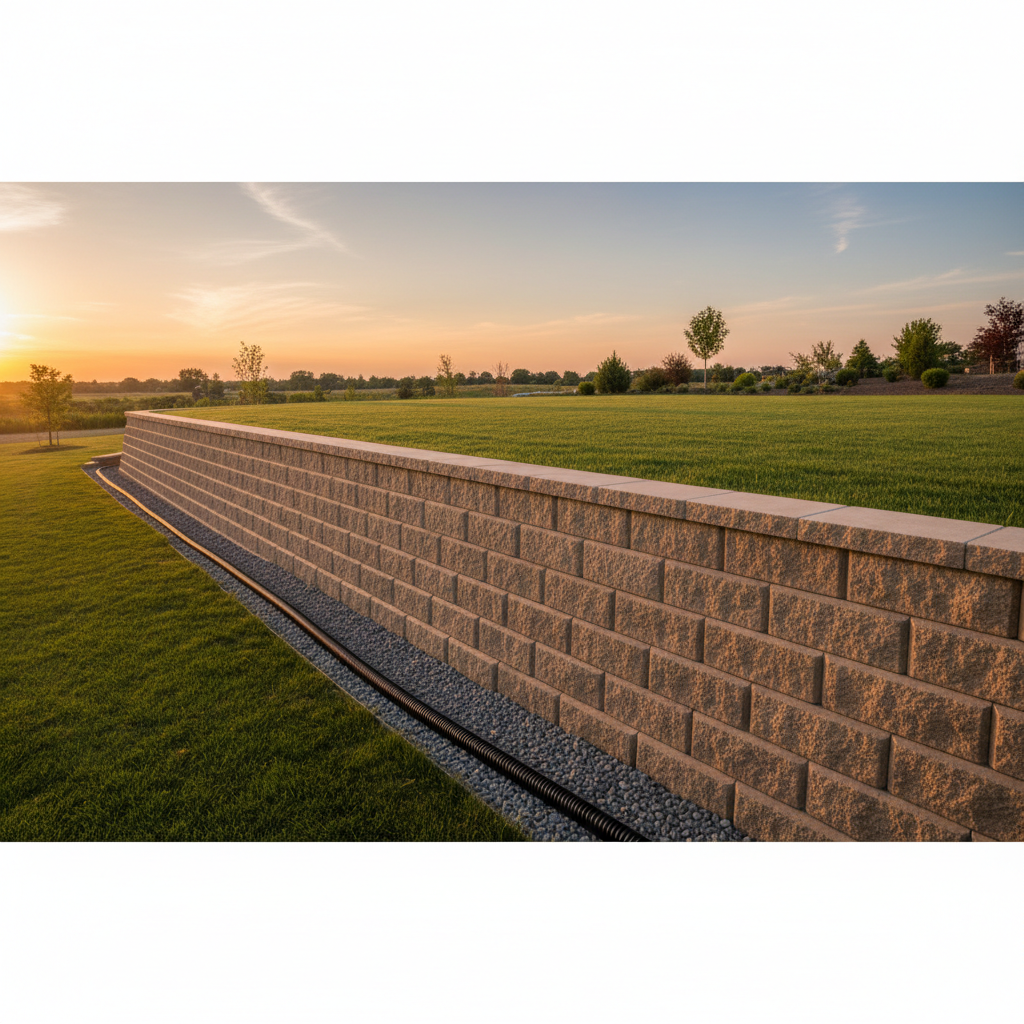
42-inch grade change. Engineered for 75-year soil load.
Phase 01 — Site Assessment
We read the ground before we touch it.
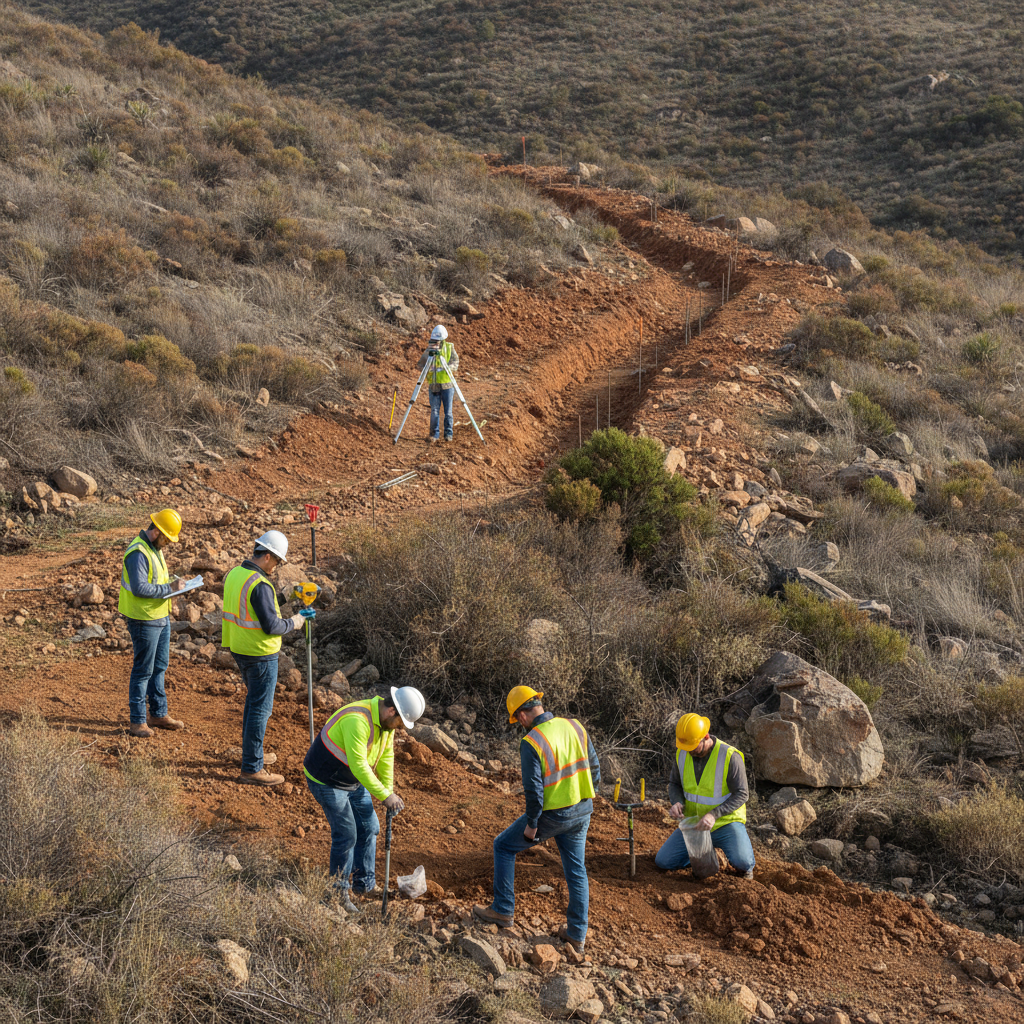
Every retaining wall project starts with a soil investigation — not a guess. We probe bearing capacity, measure the water table, and map the drainage path before a single stake goes in. You get a written assessment, not an estimate based on a walk-around.
Proctor compaction test on native soil samples
Topographic survey accurate to ±0.1 ft elevation
Phase 02 — Engineered Design
Stamped drawings. Approved permits. No shortcuts.
Walls over 4 feet require a licensed engineer. We don't subcontract that out — our in-house PE stamps the drawings, pulls the permit, and stays on the job. The municipality reviews the plan. The plan gets approved. Then we build.
PE-stamped structural drawings on every wall over 4 ft
Full permit package filed and tracked to approval

Phase 03 — Excavation & Base
The base sets everything. We don't rush it.
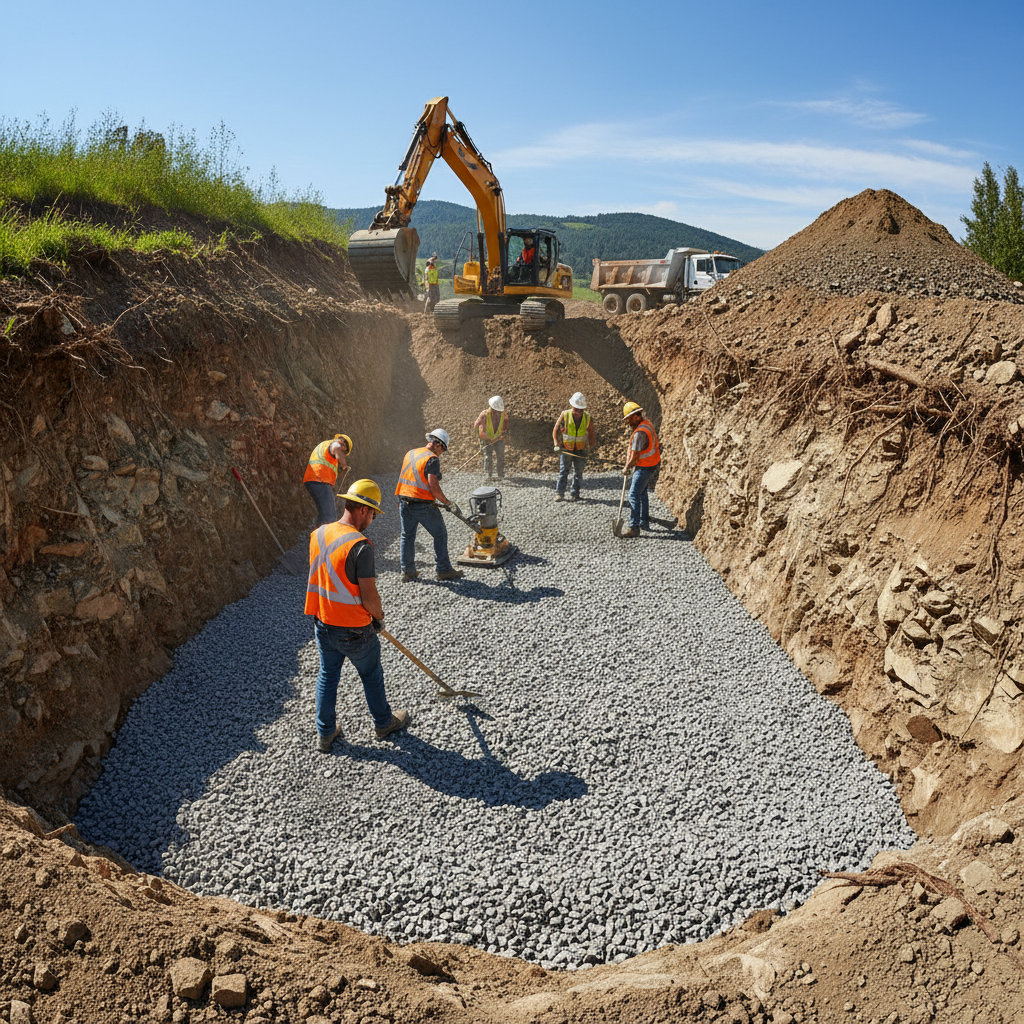
We cut to undisturbed soil, not just to depth. The base aggregate — 3/4 minus crushed stone — is laid to grade, compacted in lifts, and checked with a plate compactor before the first block goes down. A wall is only as good as what it's sitting on.
6-inch compacted aggregate base, checked for level
Excavation keyed into undisturbed native material
Phase 04 — Block Construction
Layer by layer. Geogrid every 18 inches.
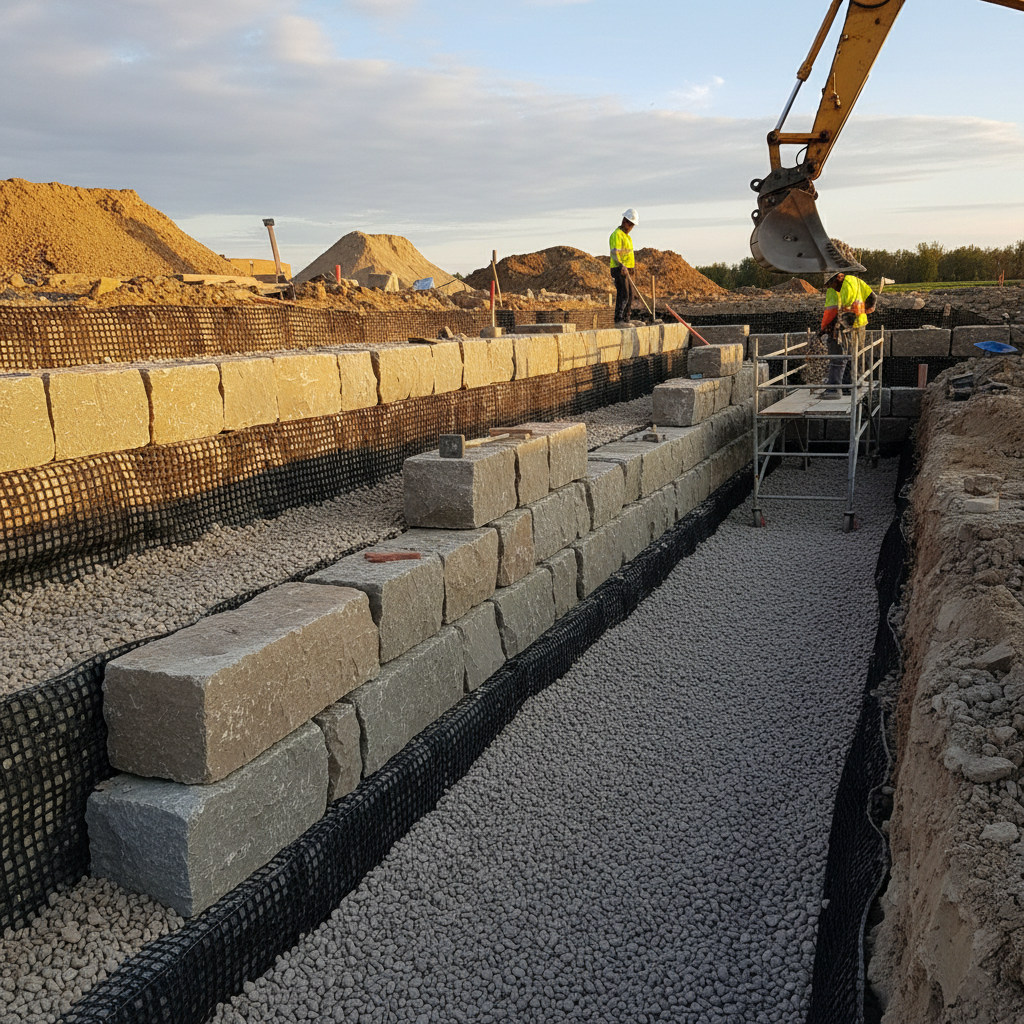
Segmental retaining wall block is set course by course, backfilled with drainage aggregate, and tied back into the slope with geogrid reinforcement at engineered intervals. Every course is checked for batter — the slight backward lean that puts gravity to work for the wall, not against it.
Geogrid installed at engineered intervals — not skipped
3/4 clear drainage aggregate behind every course
Phase 05 — Drainage & Grading
Water is the enemy. We route it out.
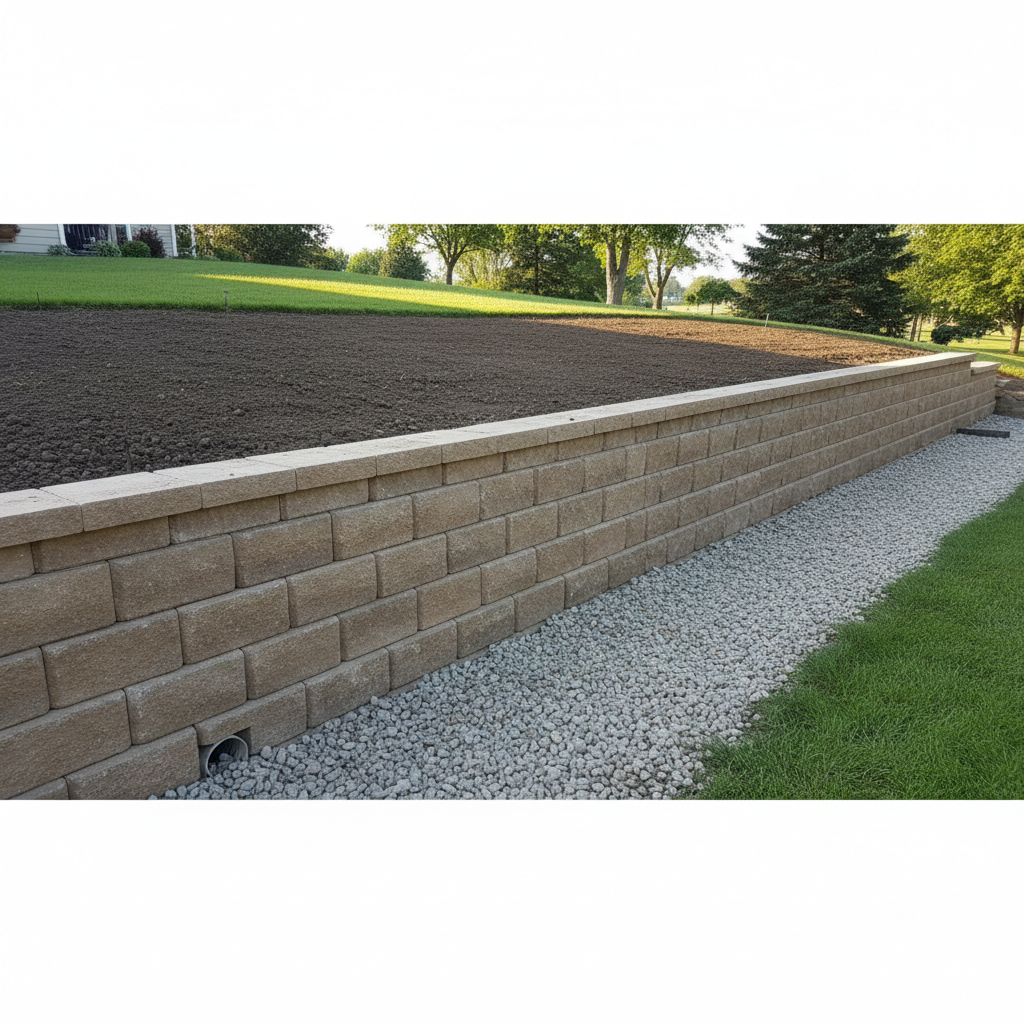
A wall without drainage is a dam. We install perforated pipe at the base, wrap it in filter fabric, and daylight it away from the structure. Final backfill is compacted in 8-inch lifts. The yard above is graded to drain away from the wall. The job isn't done until water has somewhere to go.
Perforated drain pipe at base, daylighted to grade
Final backfill compacted in 8-inch lifts, not dumped
Your slope isn't getting more stable on its own.
Every spring rain moves more soil. Every freeze cycle opens another crack. The cost of waiting compounds. An engineered wall stops it — permanently.
100%
Permitted Designs
380+
Walls Built
8 Days
Avg. Project Duration
10 Yr
Warranty
Free site assessment · No obligation estimate · Licensed & insured in all 50 states